A stone patio adds elegance to any home by providing all the beauty of a well-kept lawn without the upkeep. Whether it’s smooth slate squares or rough limestone flags, any stone will do as long as it can handle foot traffic and the local temperature.
Natural stone is an excellent alternative for your patio design, whether you want contemporary sophistication or a warm, informal aesthetic. With so many different types and kinds of natural stones to choose from, it’s important to remember the importance of selecting a dependable product for your patio. Traditional quarried natural stone varieties like Irregular Flagstone and Pennsylvania Bluestone are popular, but they only look good when they’re correctly installed either by DIY or through professional landscaping services and masonry services.
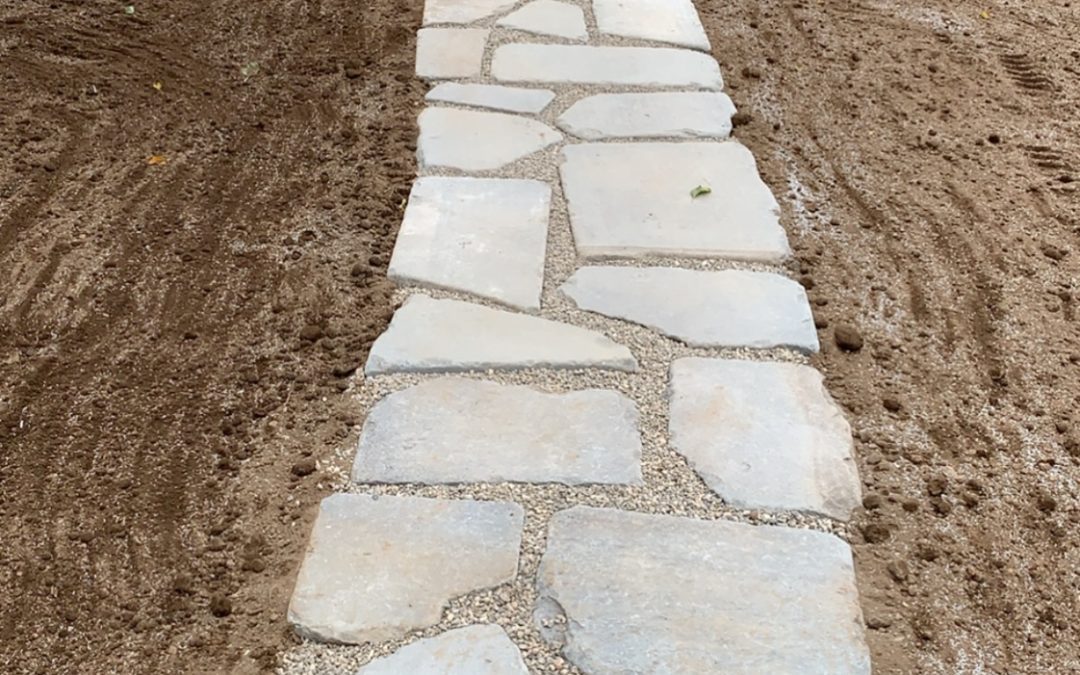
 Laying Stone
To avoid cuts, stagger the joints and estimate how much material one might need. This can be achieved by sketching out the project on graph paper. Natural stone is available in various sizes, such as rectangles and squares, with sizes ranging from 1- to 4-feet squared in 6-inch increments. If you want a 1-inch setting bed, one ton of dust will cover around 200 square feet. Seventy-five square feet (75 ft2) can be covered by a ton of pack laid at 3-inch intervals.
To not retrieve supplies and go back and forth across just-laid stones, place bought stone near the side where you’ll finish the patio. To remove debris and dig the patio base, rent a skid-steer loader. Spray paint the ground to locate and indicate any in-ground electric, gas, phone, or water lines.
Site Excavation
One foot outside the patio area’s corners, drive 3-foot pegs stakes into the soil. In between, place a builder’s level. Find a reference point, such as the intersection of the patio and the house. Examine the scope of the level as a helper holds a leveling rod at the benchmark and brings the rod’s marker into the scope’s crosshairs.
Next, with the marker at the predetermined location, have another person move the rod up or down until the marker comes inside the crosshairs at any stake. Make a mark at the bottom of the rod with the stake. Repeat each stake by swiveling the level. Measure down from the mark 1/8 inch for every foot between it and the benchmark on the two posts furthest from the house. Dig 6–12 inches below the final grade to reach the subgrade. Using a plate compactor, tamp it down.
Base Set-Up
Cover the subgrade with 3-inch pack thick layers, a mix of 3 and a half inch crushed stone and stone dust, in intervals. To keep the dust at bay, wet each layer with water. Using a plate compactor, flatten each layer. Use a hand tamper when working near walls, foundations, or sidewalks. If laying a 1.5 inch thick stone, repeat the process of adding, wetting, and compressing each 3-inch layer until the pack is roughly 2.5 inches below the stakes ranking. It’s better to let landscaping services handle the technical part of the process.
Spread Setting Bed
To make a setting bed, combine 12 parts of stone dust with one part dry cement in a wheelbarrow. Slowly pour in enough water to achieve a thick consistency. Shovel out enough mix to place one stone starting in one corner. With a rake or a hand trowel, level the mixture. Natural stone slabs may settle half an inch or more into the cement mix, depending on the weight and size, so you should spread the mix thicker than the planned out thickness.
Lay the Stones
While keeping the smooth side up of the stone, lay them into the setting bed. When dealing with stones weighing 100 pounds or more, you’ll require two individuals. To ensure that the stone is securely in touch with the bed, twist it gently. With the help of a rubber mallet, tap the slab firmly into place in the center and around the edges. You can employ masonry services for the ultimate setup.
Fill the Joints and Finish Up
While edging isn’t required to keep the stones in place on a patio, cobblestones can be used. Spread stone dust over the cobbles and sweep it into joints and along the edge after the patio is stable enough to walk on.
Spray the joints with water from a hose to help the stone dust pack securely. Tamping wet stone dust into the joints with a mason’s pointing trowel can also be done. Repeat until the joints are solid and flat with the stone’s surface.
Does all this work seem like a lot? Don’t worry! Stone Solutions Maine has you covered. They offer premium stone patio installation as well as landscaping services, masonry services, and stone veneer installation in Saco. Get in touch with them to learn more.