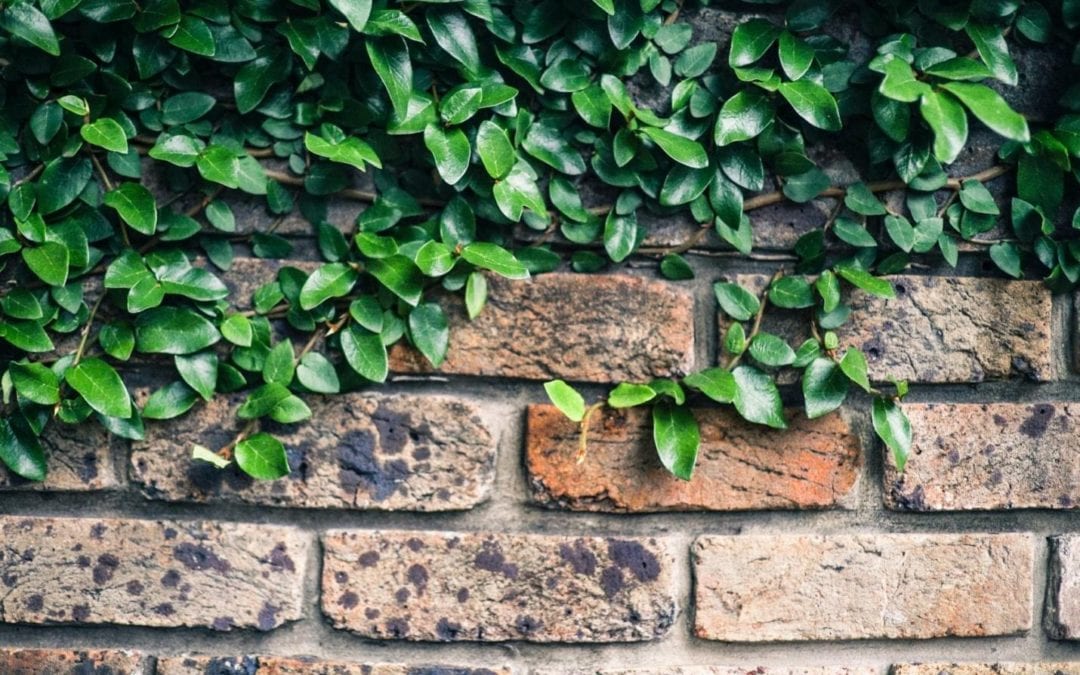
Even though mortar is one of the most durable materials out there, it still requires regular upkeep and maintenance. Decay and harsh weather can cause an undesirable entrance of water in the joints between masonry units of bricks over time. Here, we have prepared a detailed guide to help you learn all about brick repointing, when to repoint masonry, and a step-by-step guide to carry out the process with ease. So, let’s get started!
What Is Brick Repointing?
The process of brick repointing involves renewing the pointing by repacking the mortar that sits within the joints between stone blocks and bricks that form the exterior skin of any house. Regular maintenance of bricks can help protect any structure from extensive damage and freshen up its overall appearance.
When to Repoint Bricks?
Every house built using bricks will experience a time when the mortar between its bricks will require repointing. While this might not seem like a major issue initially, it is important not to underestimate the significance of pointing. Since the mortar usually accounts for approximately 15% of any overall masonry surface, its overall condition has a huge impact on the safety and quality of the wall.
The mortar also prevents any wall surface from damage due to excess water. It keeps the bricks from penetrating moisture and therefore, it plays a major role in keeping any property structure intact. Properly-maintained mortar doesn’t only hold bricks together in a wall but it also covers any irregularities on the brick faces, making them aesthetically pleasing.
Since mortar is softer than the bricks themselves, they show signs of aging earlier. While these eroding portions can be repointed at any time you want, the earlier you do it, the cheaper it will be. Sometimes the damage is so far done that the bricks need to be entirely removed and replaced. As soon as you start to feel that your brick wall looks unsightly or is constantly wet, opt for brick repointing right away!
Brick Repointing: A Step-by-Step Guide
If you are looking to repoint bricks, here is a step-by-step guide to help you carry out the process in a more convenient manner.
Step 1: Chipping Away the Old Mortar
The first step is to chip away the old mortar in your bricks using a chisel and a hammer. Position the chisel underneath the affected area at an angle and using your hammer, hit it to cut away any damaged portions. Work your way slowly along the sides and tops of that brick to properly remove all the mortar from all joints.
Make sure to wear a pair of work gloves, safety goggles, and a respirator when you chip the mortar away to keep your lungs, hands, and eyes protected at all times. Once you are finished with the cutting process, remove excess dust using a hose or wire brush.
Step 2: Hydrating the Wall
The next step is soaking the brick wall with water and letting it sit overnight. After you are done removing all dust particles, get the bricks wet using a hose. This will ensure that the wall remains hydrated for the effective installment of the new mortar. Let the bricks soak up water overnight and prepare to repoint them in the morning. Spray the bricks with water again before you repoint them to make sure that they have sufficient moisture absorbed.
Step 3: Preparing a Mortar Batch
Read the instructions on your mortar packaging and mix the specified ratio of cement and sand using a shovel. Next, form a crater in the center and put the dry mix into it, again using a shovel. Let this mixture sit for around 3 to 5 minutes before you finally apply it to the brick wall.
Brick mortar mix can be purchased from any home improvement or hardware store. In order to get new mortar in the same color as the old mortar, take a piece of the latter to the store with you. Also, remember that brick mortar hardens very quickly; therefore, it would be wise to prepare it in small batches.
Step 4: Installing the New Mortar
Take a trowel and put a small amount of mortar on it. Now work the new mortar into the vertical and horizontal gaps around the bricks. Once you have applied the new mortar, allow it to harden for about 20 to 30 minutes. Then, using a jointer tool, shape the mortar off as per your needs.
If you wish to make your brick wall more weather-resistant, make sure you make the shape of the mortar slightly concave inside the joints. Once the mortar hardens, use a wire brush to scrape away any excess material that got on the surface of the bricks accidentally.
Bottom Line
Loose, dirty, or damaged bricks never offer a good sight. Moreover, they can also lead to serious architectural issues if not taken care of right away. For this purpose, it is important to understand the significance of brick repointing on time. Use this guide to repair any mortar damage in your brick wall and make it look as good as new!
Want professional help? Stone Solutions Maine is skilled and experienced in all stonework around your home. Give us a call today and see how we can help!

